

🚛🔥🚘Automotive Headlamp Restoration Fluid Kit


🚛🔥🚘Automotive Headlamp Restoration Fluid Kit
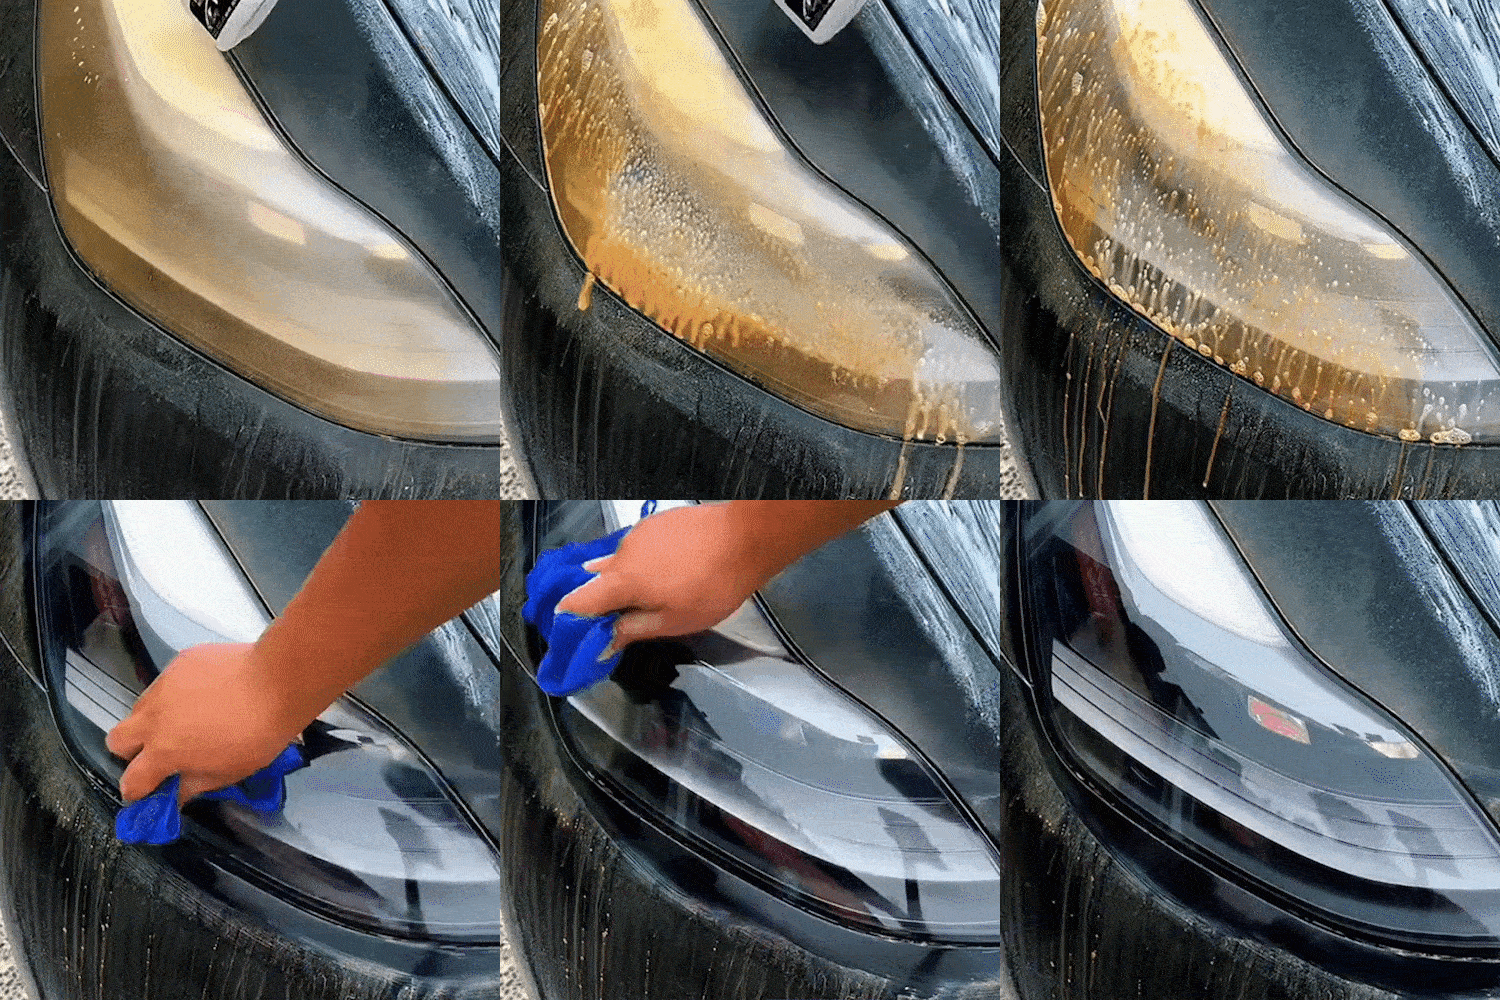
Headlight Refurbishment Kit
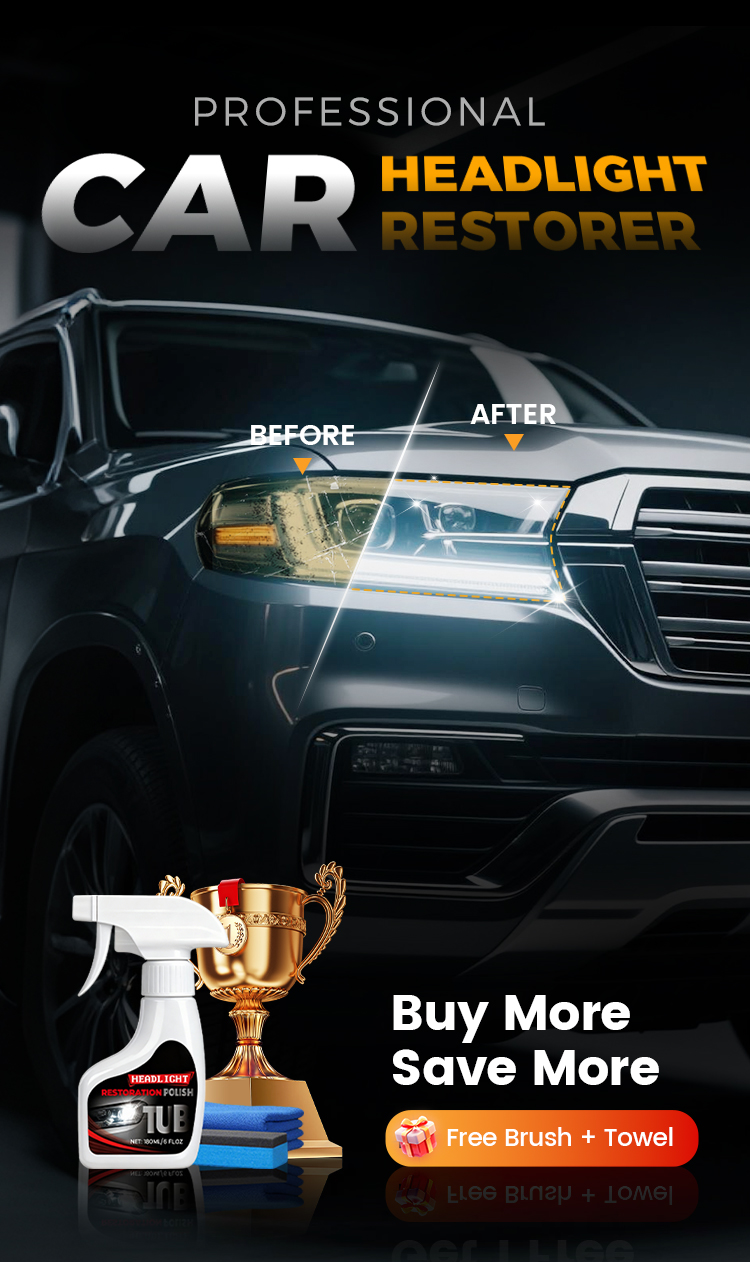
Give your headlights a fresh-looking finish.
Bring exterior-lens care into your detailing routine. Focus on a clean, well-kept appearance with a careful application and a thorough final check.
Start with the surface
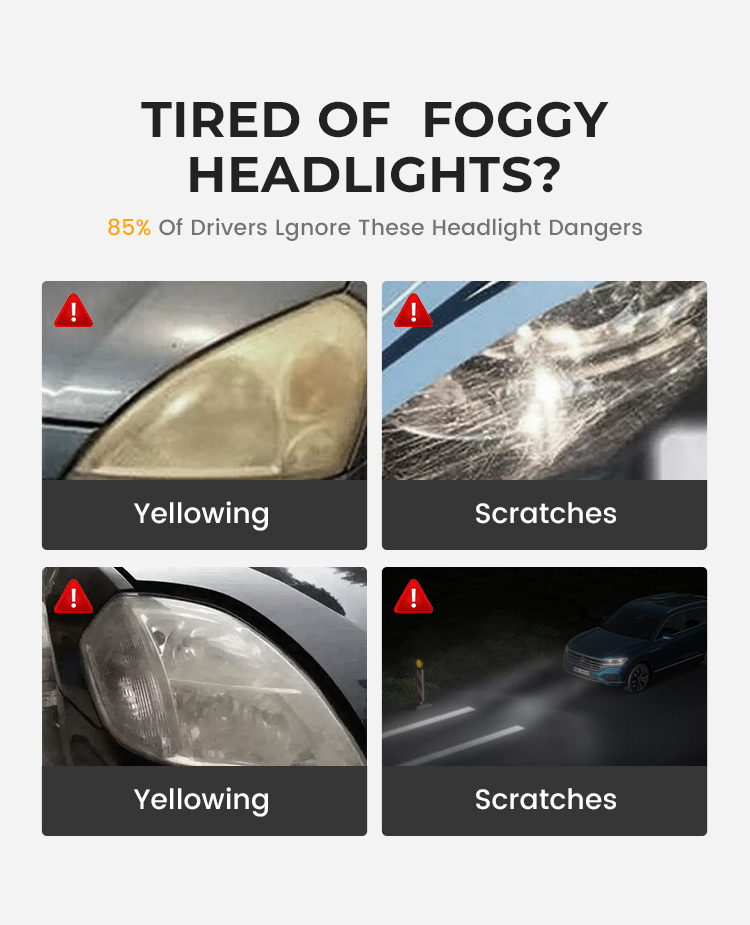
Cloudy appearance? Check what needs attention.
Headlights can look dull when the outer surface is dirty or weathered. Before treating a lens, look closely at its condition so you can choose the right approach.
Surface buildup
Start by cleaning away loose dirt and road film before assessing the lens.
A weathered finish
Check whether the cloudy appearance is on the outside of the lens.
Damage or moisture
Cracks, deep damage, or moisture inside the headlight call for a separate inspection.
A focused care routine
Work carefully. Inspect the finish.

Care where it is needed
Concentrate on the exterior lens, with attention to its edges and surrounding trim.
Apply with control
Follow the product directions for the amount to use and the correct applicator.
Review in even light
Check the surface from more than one angle before calling the job complete.

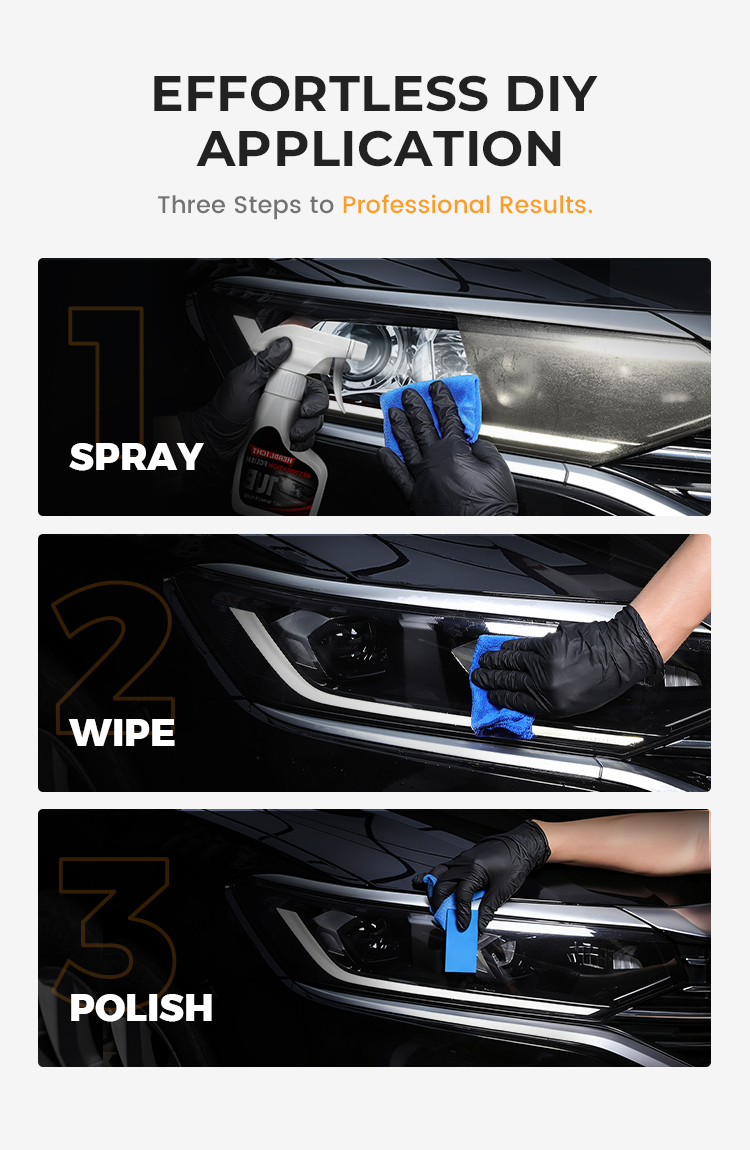
How to use
A simple order for careful application.
Use the instructions supplied with your kit for exact preparation, contact time, and finishing steps.
-
Prepare the areaClean the lens, let it cool, and protect adjacent surfaces as directed.
-
Apply as directedFollow the label for application method, amount, and contact time. Start with a small test area.
-
Finish and inspectComplete any wiping, polishing, or curing steps specified by the kit, then inspect the lens.
Know the lens
Match the product to the surface.
Lens material and coatings matter
Check compatibility with your headlight lens and any existing coating before applying a treatment.
Follow the label rather than assuming every cleaner works on every headlight.
Surface care has limits
An exterior treatment does not repair a cracked housing, failed seal, bulb problem, or moisture inside a headlight.
If you are unsure what is causing the problem, arrange an inspection before continuing.
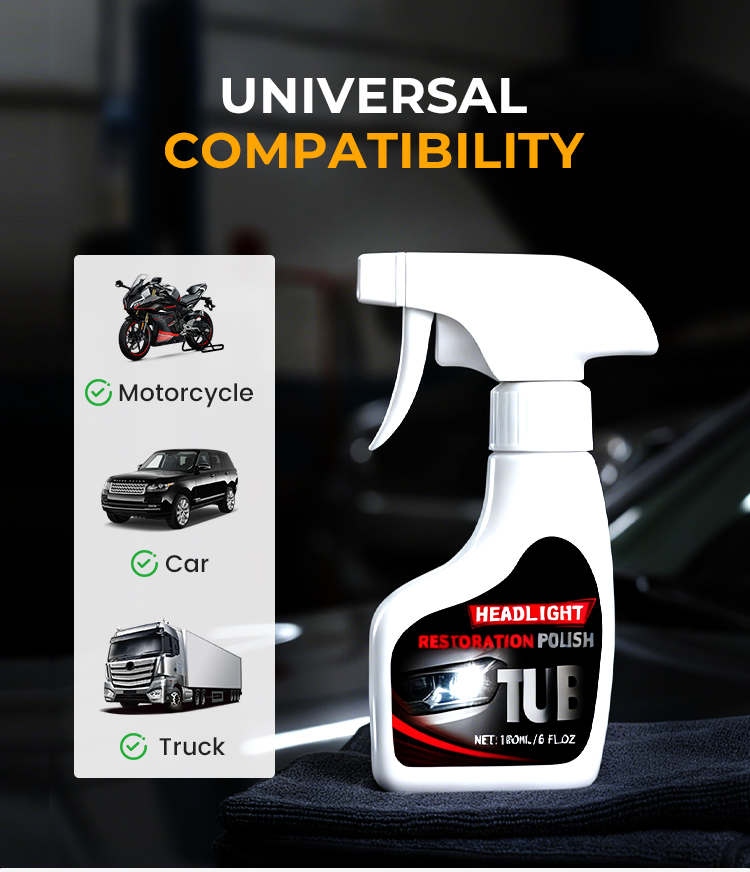
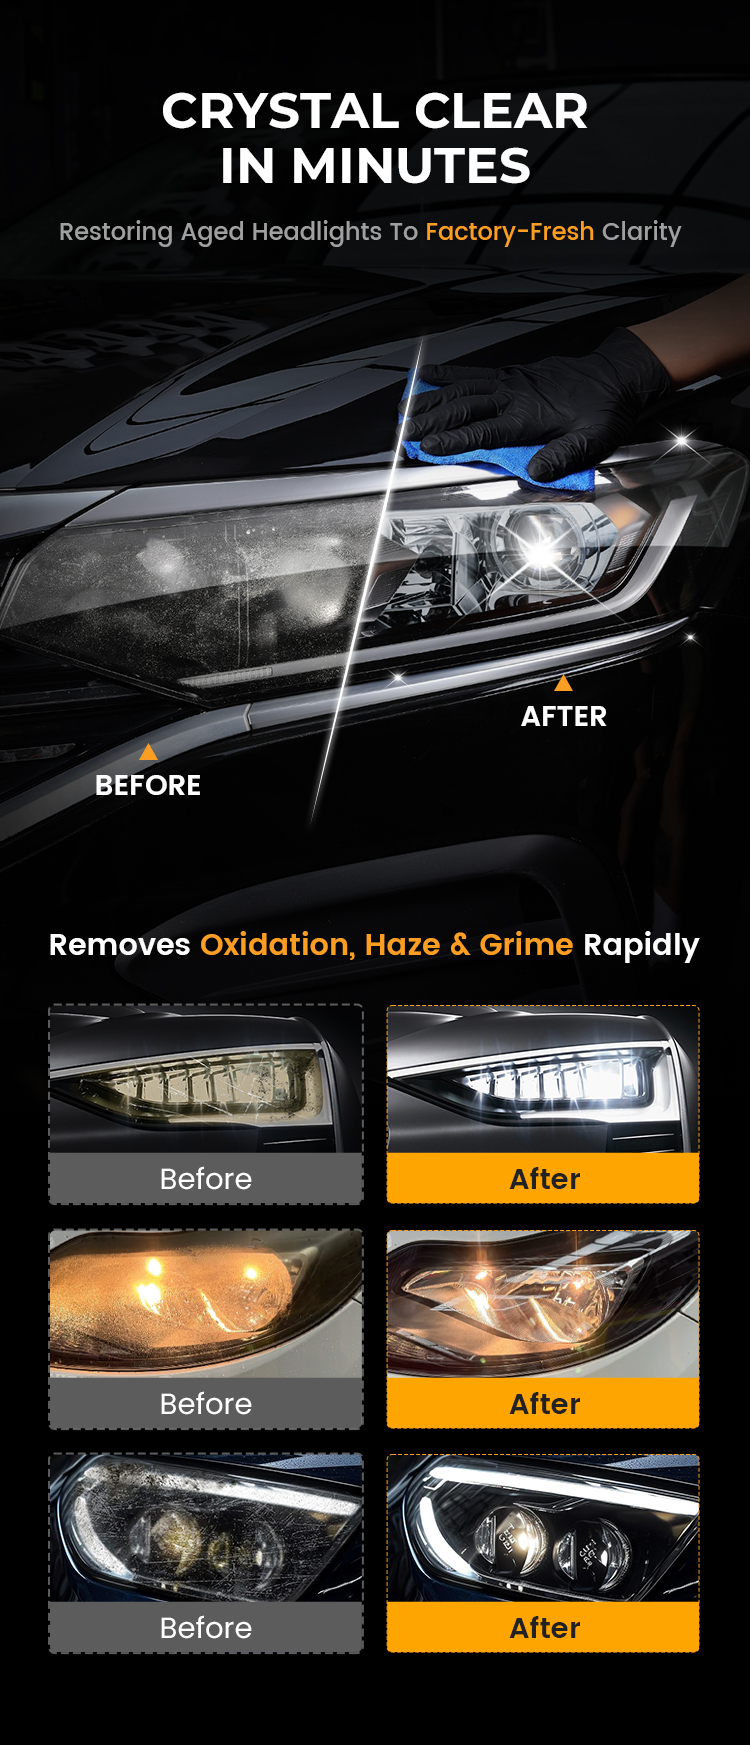
Appearance examples
Take a closer look at the finish.
Compare the lens before and after treatment under similar lighting. Pay attention to the surface, edges, and any areas that still need attention.
The final appearance depends on lens condition, preparation, and application. Exterior treatment cannot correct every cause of cloudiness.
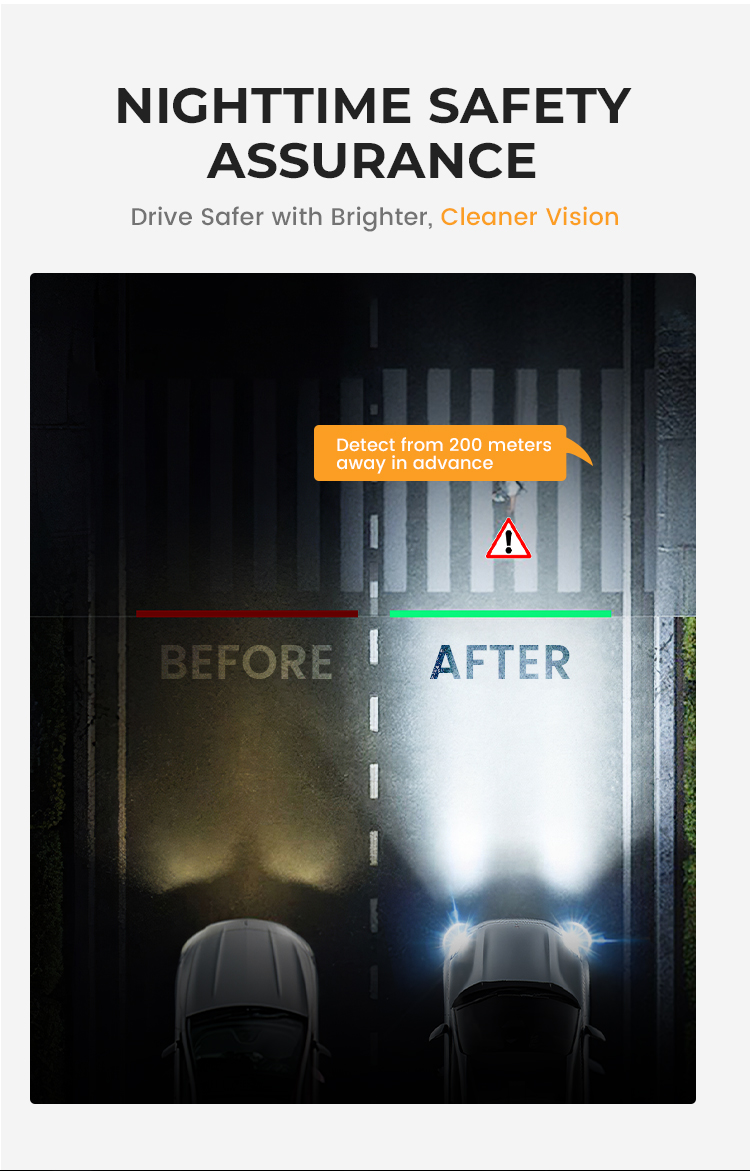
Do not use cosmetic appearance alone to judge headlight performance.
Product details
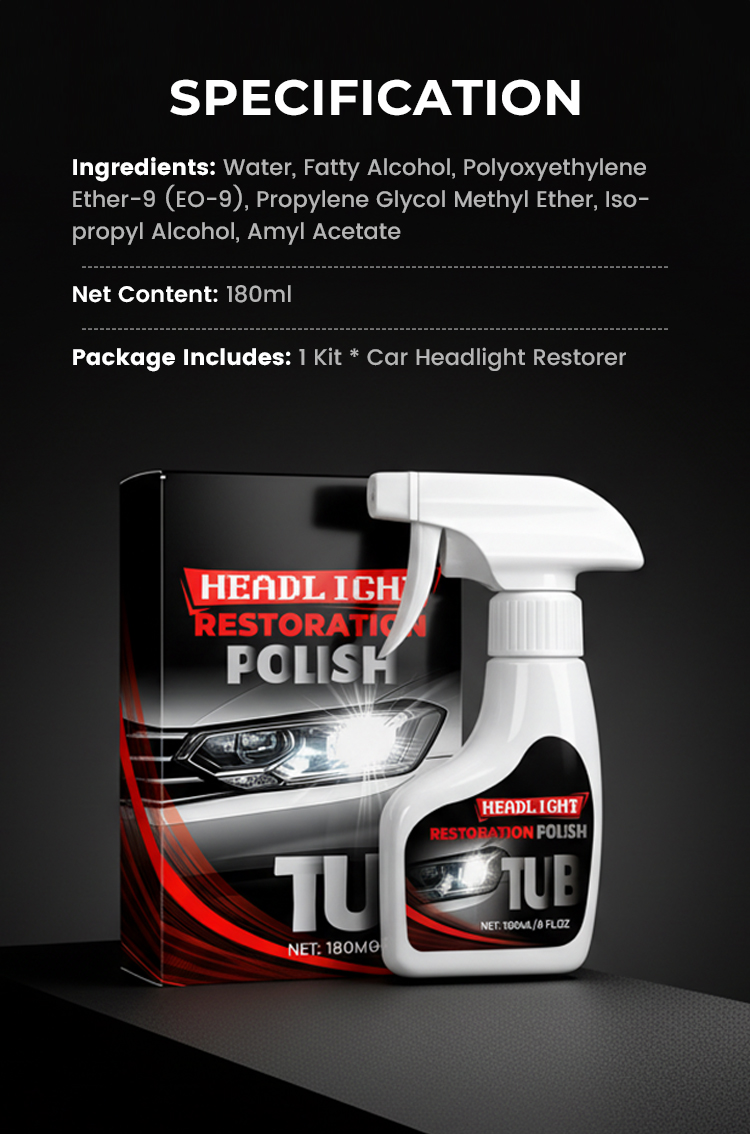
Headlight care at a glance.
Keep the product packaging and instructions for application and care information.
Care and precautions
Give the finishing steps proper attention.
Follow the label
Use any recommended protective equipment, observe product precautions, and keep the product away from children.
Respect the finish
Observe any stated curing or washing restrictions. Avoid adding another treatment unless compatibility is established.
Check the whole headlight
If brightness, beam pattern, internal moisture, or physical damage is a concern, have the headlight checked separately.
Frequently asked questions
Before you start.
Will it fix every cloudy headlight?
No. A surface treatment is different from repairing internal condensation, physical damage, a failed seal, or a lighting fault. Check the cause before treating the lens.
Can it be used on any lens material?
Check the product label for compatibility with your lens material and existing coatings. Do not assume universal suitability.
How long will application take?
Follow the timing on the instructions supplied with your kit. Preparation, application, and finishing time depend on the product and lens condition.
How long will the appearance last?
Durability depends on product instructions, surface condition, weather exposure, and aftercare. Follow the supplied care guidance.
Are accessories included?
Check your selected pack for the exact contents and quantities before ordering.
